Quick Send is a feature with the Classic Library UI (the Image Browser).
Quick Send allows you to send a few (or many!) images to a client without logins, passwords, attachments, or third-party services. Through the Quick Send feature, you may easily bundle together a group of images and generate a download link that you can send to your client. For your security, the link is only valid for one week.
How does Quick Send work in the New Library? Simply! To quickly send files in Lumen (the new library), select the images you want to share in the middle pane and click the "Share Button":
In a pop-up window, you'll be able to select the file size you wish to send and generate a new download link. You'll have the choice to email the link, or copy the link to your clipboard for manual sharing:
Delivering Images via Quick Send (Classic Library, aka Image Browser)
1. From the Left Pane of your Image Browser, select the gallery that contains the images you want to send.
![]() Note: You can also use Quick Send from image search results.
Note: You can also use Quick Send from image search results.
2. Select the images that you want to send to your client for download. (Select multiple images by using the command key on a Mac or the ctrl key on a PC, or by clicking and dragging across a range of thumbnails.)
3. Select Quick Send from the Actions menu at the top of the Center Pane.
4. Select the file size and format you want to send, then click Next.
5. Here, you'll see the download URL. From here there are two options:
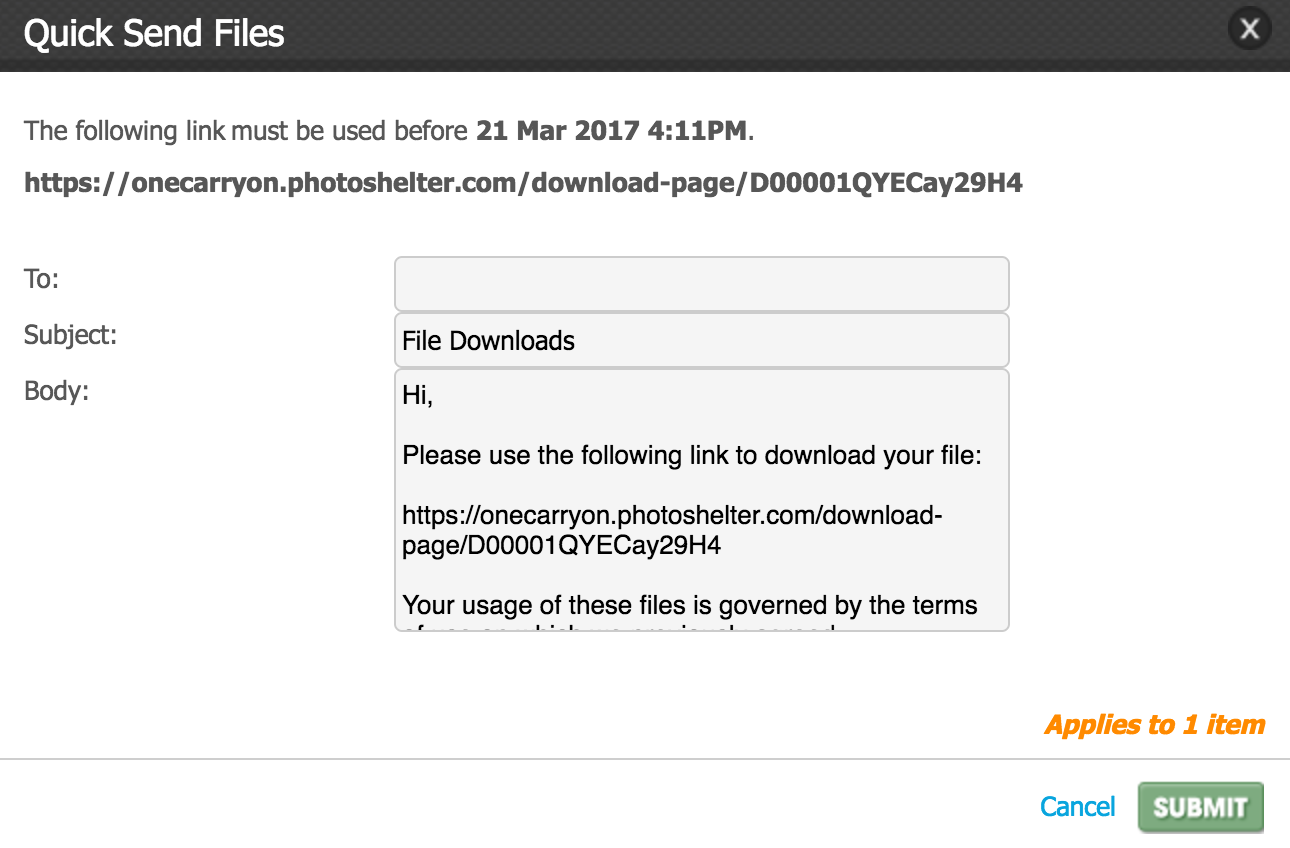
A. Sending files without leaving PhotoShelter
Enter your client's email address, customize your message, and click Submit. PhotoShelter will send your message and download link immediately. Upon submitting the form, you'll see a fading notification at the Center Pane that confirms your email was sent.
![]() Note: The sender name on this email will use the first and last name as entered in your account information.
Note: The sender name on this email will use the first and last name as entered in your account information.
B. Sending files with your own email account
Copy the download link and paste it into an email in your preferred email client (e.g. Gmail, Hotmail, Outlook), then click Cancel. The link will still work after you click Cancel.
After an image has been retrieved via Quick Send, you'll see a record in your Download Logs. (These logs only contain the most recent 90 days of download history.)
![]() Note: To learn how Quick Send works for your clients, try using it to deliver files to your own email address.
Note: To learn how Quick Send works for your clients, try using it to deliver files to your own email address.