Client Proofing provides a simple way for you to select the best images from a shoot and share these selections with the photographer. If your photographer is using our Client Proofing Tool, you’ll receive an email from them with a link to the proofing gallery and an invitation to select your favorites.
Viewing Proofs
1. Read the email from you photographer carefully. There may be a password listed for accessing the gallery:
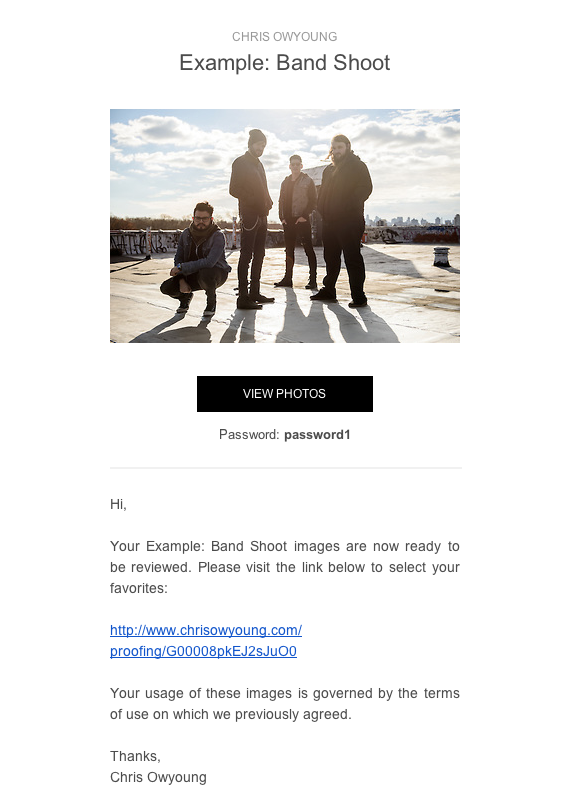
2. Click “View Photos” or the link provided to open your proofing gallery.
3. You may be prompted to enter a password or to log in to access the proofing gallery. If your invite email contained a password like the example above, now’s the time to use it! If you are only prompted to login, but haven’t yet created a free PhotoShelter client account, click “Create one now” to get started. Be sure to sign up or login with the same email address where you received your invite email.
4. Once you’ve entered the proofing gallery, you’ll see the full collection of photos. Click one or more of the filter options showing in the left pane to filter the images based on their criteria or category. Click again to remove the filter. Filter options include:
- Orientation - horizontal or vertical
- Category - pulled from image keywords
- Star Rating - pulled from any image ratings added by the photographer
- Custom Set - as created by the photographer
- Any combination of the above that have common images.
Selecting Favorites
1. Now it’s time to start selecting favorites! Once you make your first selection, you will be prompted to login or create a free account if you haven’t already. This is so that the photographer can easily see who has made selections, and so that you can return later to edit your selections if desired.
2. There are two ways to select favorites:
- Click the “+” icon that appears when you hover over an image to add it to your favorites. Click the icon again to remove from favorites.
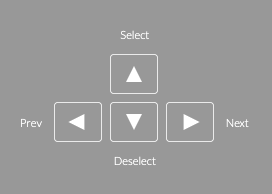
- Click on an image to enlarge, then use the arrow keys to navigate through the gallery and make selections:
3. To see what you’ve selected so far and make any changes, either click your name on the left pane, or click the “Review Favorites” button in the top right corner.
4. The last step is the most important! Once you are satisfied with your selections, return to the “Review Favorites” page and click “Send” in the top right corner. This will notify your photographer that you’ve made your proof selections.
A Note About Downloading
The Client Proofing gallery is designed solely for viewing a gallery, selecting your favorites, and sending those favorites to the photographer. To download your photos, you will need a different link from the photographer. Please contact them to request a link if you’d like to download.