An Image Package is a bundle of prints, products, and/or downloads that you can group together and sell for one set price. They’re a great way to make the ordering and selection process a bit simpler for your clients, offering them a bundle of items out of a single gallery.
When creating image packages, keep in mind that they can only be applied to a single gallery containing less than 1000 images. Your clients won’t be able to choose photos that live in different galleries, so plan to structure your galleries accordingly.
There are two steps to getting your image packages ready for your client’s to use:
Creating Image Packages
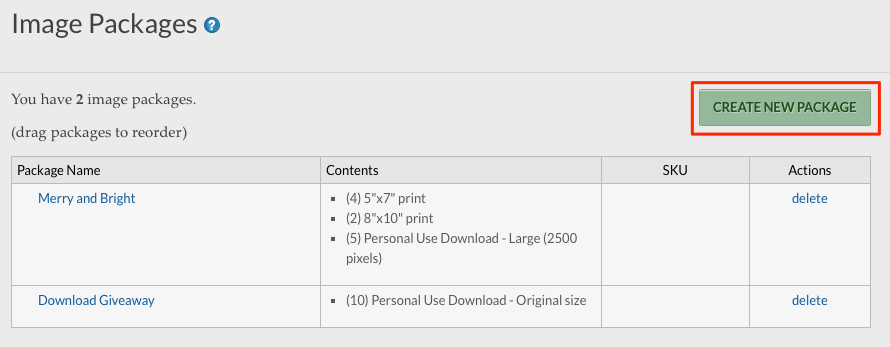
1. To get started, select "Sell" > "Image Packages" from the Navigation Bar and click the "Create New Package" button.
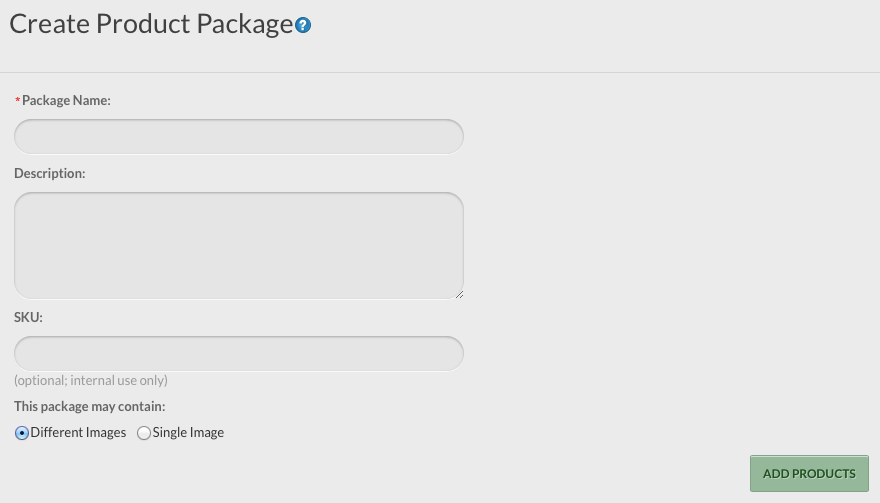
2. Enter a name for your package, a description, and an optional SKU number. Be sure to note whether or not the image package contains a single image of the buyer’s choice to be purchased in a variety of print sizes and forms, or if the package allows the buyer to select multiple images from a gallery. If you opt to offer different images, the buyer will be able to browse through a gallery and select which images they want. Please note that image packages can only be assigned to galleries containing less than 1000 images.
3. When you’ve filled out the above fields, click the "Add Products" button. This will trigger a pop-up box in which you can choose the prints and/or download options you wish to include in your package. Note the shortcut links at the top which allow you to skip to the integrated print lab’s offerings OR your self-fulfilled products.
4. Click the checkbox next to the item(s) you want to offer, then click the blue "Add Products" link at the bottom of the window. You’re welcome to include products from more than one vendor in a single package, but please be advised that this requires multiple shipments, meaning your buyer will pay multiple shipping costs.
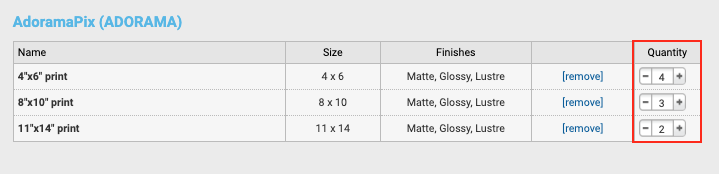
5. Next, enter the quantities of each print, product or download you’d like to offer as part of the package.
6. Once finished, click the green "Save Package" button.
Pricing Image Packages
Once you’ve created an Image Package, you’ll need to add your pricing before your clients can checkout. If you'd like to offer multiple package options in one gallery, you should price each image package in a single Pricing Profile. Only one Image Package Pricing Profile may be applied to an image.
Here are the steps:
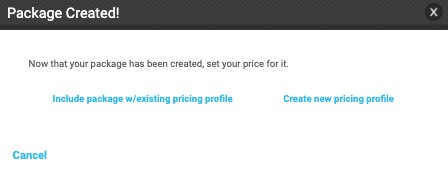
1. After creating your package, click the "Save Package" button. In the window that appears, choose whether you would like to create a new pricing profile or use an existing pricing profile (if you use an existing pricing profile, it must be an Image Package profile). You can also access this area of your account by navigating to "Sell" > "Pricing Profiles."
2. Choosing “Create new pricing profile” will allow you to add a new Image Package Pricing Profile, wherein you can configure your profile settings and set your pricing. Give your profile a name, set your crop preferences, then assign your package pricing at the bottom of the page. For more information on the crop options, refer to this article.
3. If you choose to use an existing Pricing Profile for your Image Package, enter the amount you’d like to charge next to the name of the package.
4. After you've created a Pricing Profile, you need to apply it to your galleries or images that you want to be available for package sales. Check out our detailed Applying Pricing Profiles tutorial to learn more.
You can refer to this help resource designed specifically for image buyers wherein this workflow is spelled out in detail. Though we always encourage you to try the purchasing process from your client’s perspective (log out of your own PhotoShelter account before doing so!) the section on packages should give you a good idea as to exactly what your clients will see when selecting and purchasing a package from your site.