To reduce spam inquiries coming through the contact form on your site and/or spammy client account signups from your site, we recommend enabling reCAPTCHA. This free service from Google can help prevent spam generated by bots. If you've ever clicked the "I'm not a robot" checkbox or seen a pop-up to "select all squares with street signs" when submitting a form on the web, you've interacted with reCAPTCHA.

If your site uses a PhotoShelter domain (e.g. yourname.photoshelter.com), you do not need to do anything to set this up. This is automatically set up in your site. For those that use a custom domain with their PhotoShelter site, there are a few steps involved to integrate reCAPTCHA.
Setting up reCAPTCHA for a Custom Domain
Removing reCAPTCHA for your Custom Domain
Setting up reCAPTCHA for a Custom Domain
1. In your PhotoShelter account, navigate to "Website" > "General Settings."
2. Scroll to the bottom of the page to find the reCAPTCHA instructions.
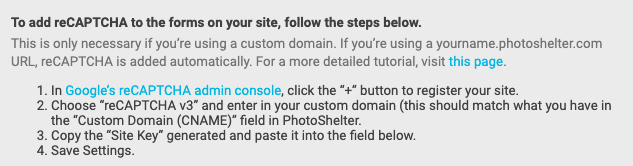
3. Click through the link in step one to visit Google's reCAPTCHA admin console. If you're not already logged into a Google account, you'll be prompted to log in.
4. Once logged in, you should see a page to register a new site. If you have previously registered a site using this tool, click the "+" in the top right to add a new site.
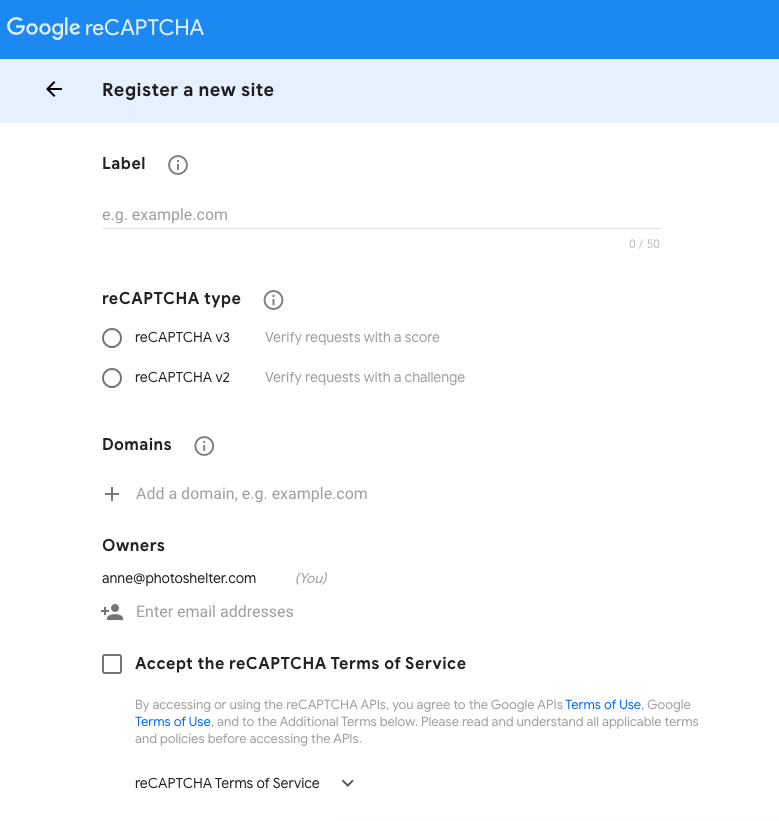
5. Fill in the "Label" field with a name for your site (you can put anything you want in this field, but we recommend putting in your domain name).
6. Under "reCAPTCHA" type select "reCAPTCHA v3."
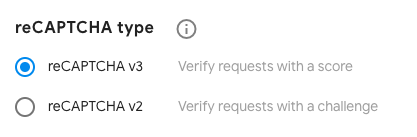
Note: If you select a different reCAPTCHA type or validation option, it will not work with our integration.
7. Under "Domains" enter in the custom domain you use with PhotoShelter (this should match what you have entered in the "Custom Domain (CNAME)" field in your General Settings).
8. Check the box to "Accept the reCAPTCHA Terms of Service."
9. If you want to receive notifications from Google about spam, keep "Send alerts to owners" checked. Otherwise, you can uncheck the box.
10. Click the "Submit" button.
11. On the next screen, copy the top key generated for the HTML of your site:

12. Navigate back to your PhotoShelter General Settings.
13. Paste the site key you copied previously into the "reCAPTCHA Key" field.
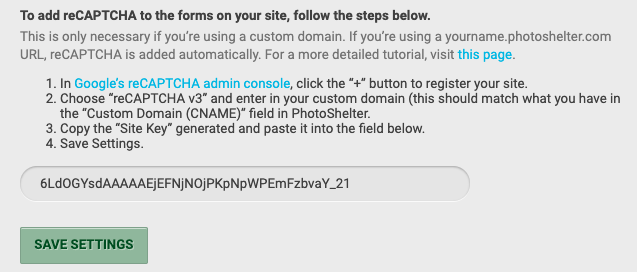
14. Click "Save Settings."
That's it! Your reCAPTCHA should now be live for the forms on your site.
Removing reCAPTCHA for your Custom Domain
To remove the reCAPTCHA from your contact form:
1. Navigate to your PhotoShelter General Settings.
2. Scroll down to the bottom of the page and delete the reCAPTCHA site key.
3. Click "Save Settings."
That's it! The reCAPTCHA should now be removed from your forms.